
Live streaming
Keyboard overlay for live streaming on a Mac
Live is unforgiving: there is no second take when the overlay drifts to the wrong monitor or shows a key you did not want on stream. Set the display target and learn one shortcut.
Multi-display is where live setups go wrong
Almost every streaming Mac has more than one screen: one you stream, one for chat, alerts and the broadcasting software itself. That second screen is exactly what makes the default display behaviour wrong for streaming.
Show KeyPress has three display target modes. Follow Pointer draws the overlay on whichever display your pointer is currently on. One Display pins it to a single monitor. Selected Displays draws it on several at once. Follow Pointer is the right default for everyday use and the wrong one for a broadcast, because the moment you glance at chat and drag the mouse over, the overlay leaves the display your viewers are watching.
- Display identifiers are stable, so unplugging a monitor and plugging it back in — or reordering displays in System Settings — does not scramble which screen the overlay is pinned to.
- Every physical display keeps its own saved placement, so the corner you chose for the streamed monitor is not overwritten when you position it differently on the laptop screen.
- Positions are normalised, so a resolution or scaling change does not push the overlay off the edge of your scene.
| Target mode | Where the overlay appears | Use it when |
|---|---|---|
| Follow Pointer | On whichever display the pointer is on right now | You are working, not broadcasting — a single-screen setup, or a recording where you never leave the main display. |
| One Display | Always on the monitor you selected | You stream one screen and keep chat, alerts and the encoder on another. This is the streaming default. |
| Selected Displays | On every display you ticked, at the same time | You switch between two captured screens during a show, or you mirror to a room display and want it on both. |
Get it into the stream
There is no integration step, because there is nothing to integrate. The overlay is a click-through window drawn on your screen; broadcasting software that captures a display captures it along with everything else on that display. Capture scoped to a single window or a single application will not include it, because the overlay is not part of that window.
- 01
Pin the display first
Open Displays, choose One Display, and pick the monitor your encoder captures. Doing this before anything else prevents the most common on-air surprise.
- 02
Use a display capture in your broadcasting software
A display capture includes the overlay. A window or application capture does not. If your scene must stay window-based, add a cropped display capture layered on top for the overlay's corner.
- 03
Place it clear of your layout
Eight edge presets cover the corners and edge centres. For anything else, ⌃⌥P opens the drag editor with snapping and guides, plus Done, Cancel and Reset.
- 04
Size it against the live preview
⌃⌥= and ⌃⌥- step through the size presets globally, so you can size the overlay while watching your own program feed rather than your desktop.
- 05
Set the content mode for your show
Shortcuts Only keeps plain typing off the stream and shows combinations. All Keys shows everything. ⌃⌥M switches between them without opening settings.
- 06
Rehearse the panic key
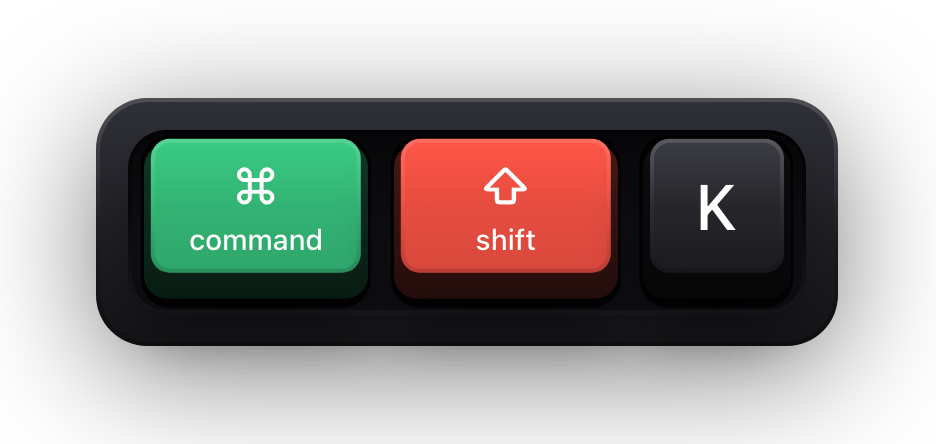
Press ⌘⇧K a few times before you go live so the muscle memory is there. It toggles the visualisation off and on from any app.
Hiding it mid-stream
At some point during a live show you will need to type something you do not want on screen — a login, a private URL, a name. There are two layers of protection, and only one of them is automatic.
The automatic layer is macOS Secure Input. When it is active, key events do not reach other applications at all, and the keyboard overlay is cleared for the duration — replaced for a few seconds by a banner reading “Keyboard hidden — Secure Input”, so your viewers see a deliberate pause rather than a glitch. Password fields and Terminal's Secure Keyboard Entry both trigger it. This is a macOS mechanism, not a filter the app applies after the fact — the keystrokes never arrive.
The manual layer is the global shortcut for app state, ⌘⇧K by default and rebindable to anything you like. It toggles the visualisation off, and pressing it again brings it back. Use it for everything Secure Input does not cover: a search box, a chat window, a document you would rather your audience did not read a word at a time.
- The cursor halo has its own global shortcut, ⌃⌥H by default, so you can drop the pointer effect without turning off the keyboard visualisation.
- Keyboard, pointer and pet visualisations each have an independent switch — the pointer on ⌃⌥H, the pet from the menu bar, the keyboard in Settings under Keyboard — so a show that wants keys but not a cat can have exactly that.
- Nothing is written down. Keystrokes, typed fragments, clicks and pointer coordinates are processed on device and never persisted, so there is no log of a stream to leak later.
- Input Monitoring is the only privacy permission the app requests — it does not ask for Accessibility or Screen Recording.
The rest of the on-screen kit
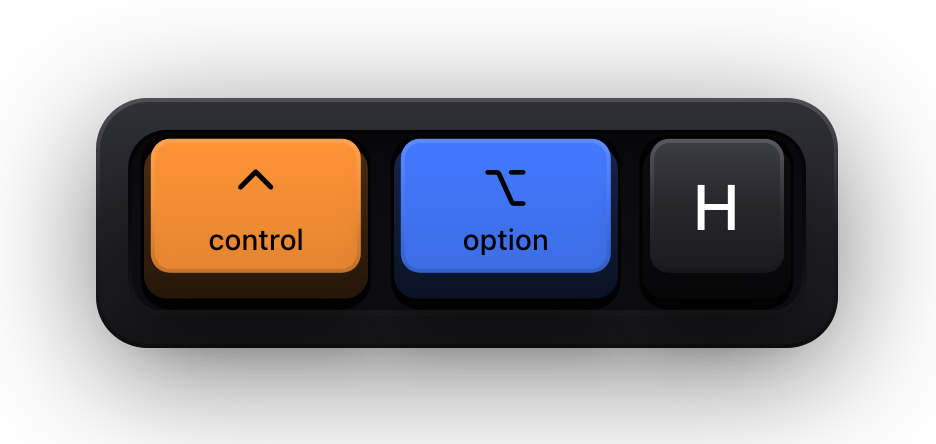
Keyboard visualisation is the main event, but two other layers matter on a live stream. The cursor halo makes your pointer findable on a viewer's small screen, with distinct motion for primary, secondary and middle clicks, held-drag feedback and velocity tilt. It has Always Visible, On Activity and Clicks & Actions visibility modes — the last one keeps the screen calm and only reacts when you actually do something.
The animated cat is the one part of the overlay that is not click-through: you can drag it and click it directly, and it reacts to typing and to your cursor. It has Always Visible and While Typing visibility modes, and every autonomous behaviour has its own switch, so it can be as busy or as quiet as your show wants.
Both respect Reduce Motion. With the system setting on, the pointer falls back to a static treatment and the cat holds semantic poses instead of animating — worth knowing if your audience includes people who find constant motion difficult.
Pre-show checklist
- Display target is One Display, set to the streamed monitor.
- The encoder source is a display capture, not a window or application capture.
- The overlay's placement clears your camera, alert box and chat overlay in the live preview.
- Content mode matches the show — Shortcuts Only for most, All Keys for typing-led segments.
- You know where ⌘⇧K is without looking.
- Size and opacity read correctly on the program feed, not just on your desktop.
Sources and further reading
Product details and guidance were checked against these first-party pages on August 5, 2026. Re-check current listings before making an install or high-stakes decision.
- OBS Studio — Sources
OBS Project
How OBS captures a display or window, which is what puts an on-screen overlay into a stream.
- Secure Keyboard Entry
Apple
How macOS Secure Keyboard Entry stops other apps from receiving key events.
- Control access to input monitoring on Mac
Apple
Apple's guide to the Input Monitoring privacy permission and how to grant or revoke it.
- Show KeyPress on the Mac App Store
Apple
The listing, with the current price, system requirements and version history.
FAQ
Questions people ask
Why does the overlay disappear when I move my mouse to my second monitor?
That is Follow Pointer, the default display target — the overlay goes to whichever display your pointer is on. For streaming, switch to One Display and pin it to the monitor your encoder captures.
Can I show keystrokes on two monitors at once?
Yes. Selected Displays draws the overlay on every display you tick, and each display keeps its own saved placement so the corner can differ between them.
How do I stop keystrokes appearing while I log in on stream?
Password fields put macOS into Secure Input, which stops key events reaching the app and clears the keyboard overlay automatically, leaving a short “Keyboard hidden — Secure Input” banner in its place. For anything else, press ⌘⇧K to toggle the visualisation off and again to bring it back.
Does the overlay work with streaming software other than OBS?
It works with anything that captures a display, because it does not integrate with the software at all — it just draws on your screen. There is no plugin, no source to add, and nothing to configure on the encoder side beyond choosing a display capture.
Does it run on Windows or Linux?
No. Show KeyPress is a Mac-only app, distributed through the Mac App Store, and requires macOS 14 or later.