
Guide
Show keyboard shortcuts during a screen share
On a call, the shortcut you just pressed is the one piece of information the room cannot see.
What the room actually sees
Screen sharing tools do not stream your Mac. They stream a chosen region of it, and the region you choose decides whether an overlay drawn on top of your windows travels with the picture.
Zoom's sharing options let you share an entire desktop or a specific application window, and the difference is the whole story here. A desktop share is a picture of the display, overlay included. A single-window share carries that window's content, and a keystroke overlay is a separate window sitting above it.
Google Meet and Microsoft Teams present the same choice with different wording — a whole screen versus a window. The rule is identical: share the screen if you want the keys on the call.
| What you share | Does the overlay appear | What to do |
|---|---|---|
| Entire screen or desktop | Yes — the overlay is drawn on that display, so the share carries it | Place the overlay on the display you are sharing and leave it there |
| A single application window | Often not — the share is scoped to that window, and the overlay is not part of it | Switch to a whole-screen share, or accept that the keys stay off the call |
| One display out of several | Only if the overlay is on that display | Use One Display or Selected Displays instead of Follow Pointer |
Set it up before the call, not during it
- 01
Grant Input Monitoring ahead of time
The permission prompt opens System Settings, which is not something you want to be doing while eleven people watch. Grant Input Monitoring once, well before the meeting. It is the only privacy permission the app asks for.
- 02
Switch to Shortcuts Only
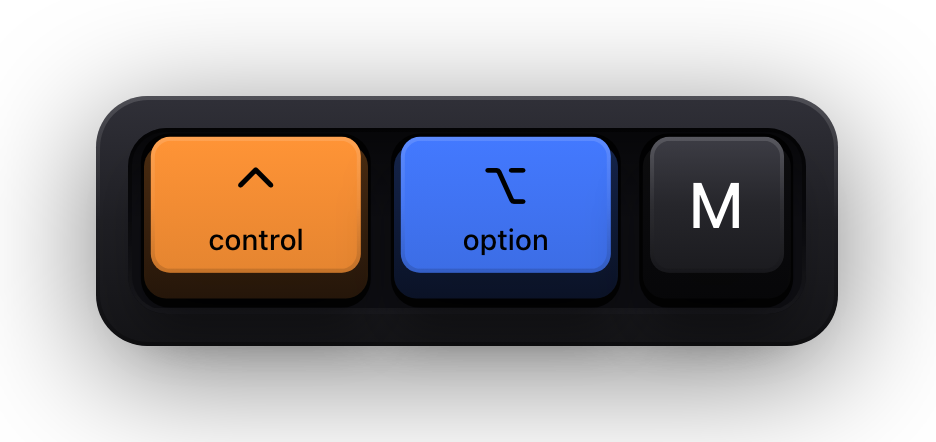
A call does not need to see you typing into the chat box. Shortcuts Only shows the combinations and leaves plain typing alone, which keeps the shared screen calm. ⌃⌥M flips between the two content modes without opening Settings.
- 03
Pin the overlay to the display you will share
One Display keeps it on a fixed screen. If you present from one display and keep notes and the participant list on another, this is what stops the overlay from following your cursor into the wrong picture.
- 04
Move it out of the meeting chrome
Conferencing apps put floating toolbars and a share border near the top and centre of the screen. One of the eight edge presets near the bottom usually clears both, and the drag editor handles anything unusual.
- 05
Share the screen, then check your own preview
Most tools show you what participants see. Press one shortcut and confirm the keycaps are in the preview before you start explaining anything.
Staying out of the way of the presentation
- The keyboard and pointer overlays are click-through, so nothing on the shared screen intercepts a click meant for the app underneath.
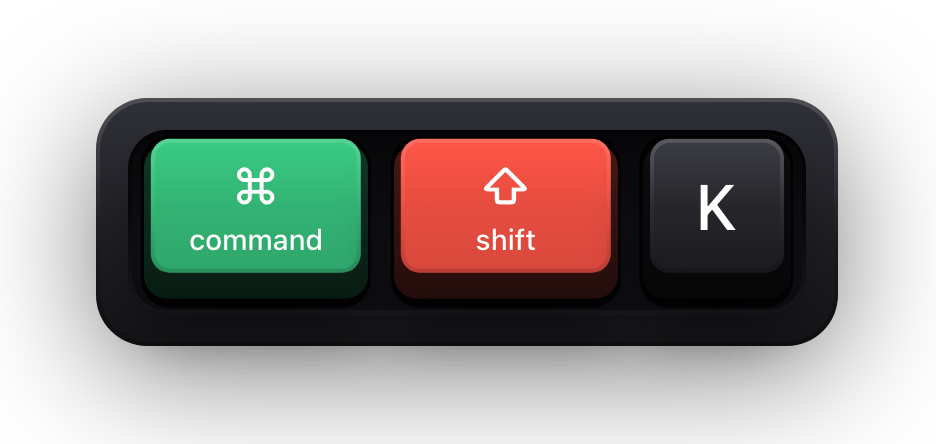
- ⌘⇧K toggles all the visualization mid-call, and a short status banner confirms the new state.
- The app lives in the menu bar with no Dock icon, so it does not appear in a shared Dock or a Mission Control sweep.
- The cursor halo is a separate toggle — turn it on when the room needs to find your pointer, off when it competes with the keys.
- Standalone modifiers can be hidden, which stops a bare Command tap from flashing a keycap every few seconds.
Live demos and workshops
The case for an overlay is strongest where the audience is expected to follow along on their own machines. In a workshop, a shortcut that goes unseen becomes a support question two minutes later, and the answer has to be delivered by voice while everyone else waits.
Latest fits this best: one combination at a time, replaced by the next, matching the pace of spoken instruction. Stacked History is the better choice when you are demonstrating something that involves real typing, because it groups continuous input into fragments that can actually be read.
For a room with a projector rather than a call, the same setup applies — the projector is just another display, and Selected Displays lets you show the overlay there without cluttering the screen you are reading from.
Sources and further reading
Product details and guidance were checked against these first-party pages on August 5, 2026. Re-check current listings before making an install or high-stakes decision.
- Sharing your screen in a Zoom meeting
Zoom
Zoom's screen share options, including sharing a whole desktop versus one window.
- Secure Keyboard Entry
Apple
How macOS Secure Keyboard Entry stops other apps from receiving key events.
- Control access to input monitoring on Mac
Apple
Apple's guide to the Input Monitoring privacy permission and how to grant or revoke it.
FAQ
Questions people ask
Does this work with Google Meet and Microsoft Teams?
Yes, in the sense that matters: the overlay is an ordinary on-screen window with no integration into any conferencing app, so any tool sharing a whole screen or display includes it. There is nothing to install on the meeting side.
Why can participants not see the keys?
You are almost certainly sharing a single application window rather than the whole desktop. Re-share the screen instead, or check that the overlay is on the display you chose to share.
Will attendees see me type a password?
No. While macOS Secure Input is active the keyboard visualization is cleared, so password fields and secure terminal input draw no keycaps at all. A brief Keyboard hidden — Secure Input banner appears instead, and it can be switched off under General.
Can I turn the overlay off in the middle of a call?
Yes. ⌘⇧K toggles all the visualization at once, and ⌃⌥H toggles the cursor halo on its own. The pet has its own switch in the menu bar, and the keyboard overlay has one in Settings under Keyboard — so the halo goes with a keystroke, and the other two from the menu bar or Settings.