
OBS workflow
How to show keystrokes in OBS on a Mac
There is no OBS plugin to install. The overlay is drawn on your display, and OBS captures whatever is on that display — which makes the whole setup a question of capture type and placement.
There is no plugin, and that is the point
Show KeyPress is not an OBS plugin, an OBS source, or a virtual camera. It does not integrate with streaming software at all, and it never sends video anywhere. It is a floating, click-through overlay window drawn on your Mac's screen, above other apps, the way a notification banner is.
That is the entire mechanic you need to understand. OBS does not need to know the app exists. When OBS captures a display, it captures the pixels currently on that display — and the overlay is part of those pixels. Nothing is routed, encoded twice, or synchronised; there is no latency budget to worry about, because there is no second video path.
The practical consequence is that the setup work is not in OBS. It is in choosing the right capture type and putting the overlay somewhere your scene has room for.
Display capture versus window capture
OBS on macOS offers several ways to get your screen into a scene, and they differ in exactly the way that matters here. The rule is simple: anything that captures a whole display includes the overlay, anything scoped to one application or one window does not.
- If your scene is already built on window capture and you do not want to rebuild it, add a second display capture cropped to the overlay's corner and layer it above the window capture.
- Cropping is also the fix for a display capture that is larger than your canvas — crop to the region you actually stream, then place the overlay inside it.
| Capture type | Does it include the overlay? | Why |
|---|---|---|
| Display capture | Yes | It captures everything drawn on that display, including floating windows from other apps. |
| Window capture | No | It captures the pixels of one window; the overlay is a separate window drawn above it. |
| Application capture | No | Scoped to one app's windows, and the overlay belongs to Show KeyPress, not to that app. |
| Cropped display capture | Only if the crop covers it | The crop is applied to a full-display capture, so the overlay must sit inside the visible region. |
Set it up in OBS
- 01
Install Show KeyPress and grant Input Monitoring
It is a Mac App Store app for macOS 14 or later. On first launch macOS asks for Input Monitoring, which is the only privacy permission it requests — not Accessibility, and not Screen Recording.
- 02
Add a display capture source in OBS
In your scene, add the screen capture source and set it to capture a display rather than a window or an application. macOS will ask OBS itself for Screen Recording permission the first time; that prompt belongs to OBS, not to Show KeyPress.
- 03
Pick the display OBS is capturing
In Show KeyPress, open Displays and choose One Display, then select the same monitor OBS is pointed at. Follow Pointer is the default and will move the overlay to whichever display your mouse is on — convenient at the desk, wrong on stream.
- 04
Choose an edge preset
There are eight edge presets — the four corners, plus top, bottom, left and right centre. Pick the one furthest from your camera cutout, chat box and any lower-third graphics.
- 05
Nudge it with the drag editor
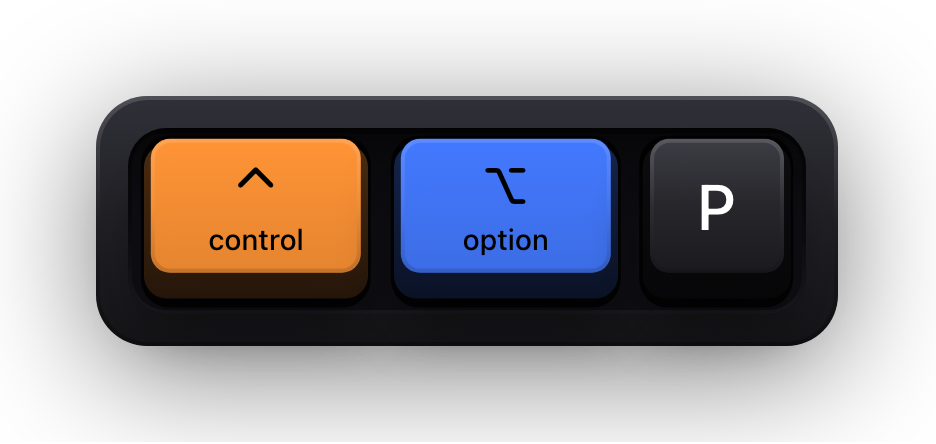
If no preset lands where you want it, press ⌃⌥P to open the full-screen drag editor. Drag the overlay anywhere, let it snap to the guides, then confirm with Done — or Cancel to back out and Reset to return to the default placement.
- 06
Type into the OBS preview and confirm
Watch the program preview, not your screen. If keys appear on your Mac but not in the preview, the source is a window or application capture, or the overlay is on a different display than the one being captured.
Placing it so it does not collide with your layout
A stream layout is crowded, and the overlay is the newest tenant. Placement is saved separately for every physical display, so a laptop screen and an external monitor can each keep the placement that suits their scene — the app remembers which is which through reordering and reconnects.
Positions are stored normalised rather than as raw pixels, so they survive a resolution change, a scaling change, and the menu bar or Dock appearing and disappearing. You will not come back to a stream layout where the overlay has drifted half off the canvas.
- Camera bottom-right is the most common layout, which makes bottom-left or top-centre the natural home for the overlay.
- If your scene crops a 16:10 display into a 16:9 canvas, keep the overlay away from the top and bottom edges — those are the strips that get cropped away.
- Three size presets are available, and ⌃⌥= and ⌃⌥- step through them without opening settings, so you can size it against the live preview.
- Opacity is adjustable if you want the overlay to read as a subtle layer rather than a solid card.
- Nine theme families for the keyboard — System, Dark, Light, Mono, Classic, Modern, Minimal, Gaming and Neon — plus one autosaved custom theme, so you can match the overlay to your scene's palette.
Before you go live
- Confirm the target display: One Display, set to the monitor OBS captures.
- Decide the content mode. All Keys shows everything you type; Shortcuts Only hides plain typing and shows combinations, which is usually what a viewer wants.
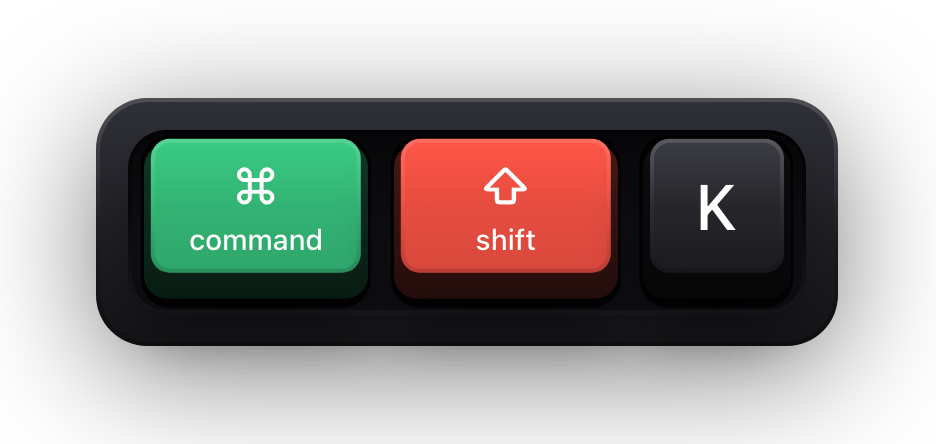
- Know the panic key. The global shortcut ⌘⇧K toggles the app off and on, so you can clear the overlay before typing something you would rather not broadcast.
- Remember that the keyboard overlay is cleared automatically while macOS Secure Input is active — password fields and Terminal's Secure Keyboard Entry stop key events reaching the app at all. A short banner reading “Keyboard hidden — Secure Input” takes the keycaps' place on stream; turn off Show Status HUD in Settings, in the Status HUD card under General, if you would rather it did not.
- Check the cursor halo too, if you use it: it follows the physical pointer across displays, so it will leave your captured display when your mouse does.
Sources and further reading
Product details and guidance were checked against these first-party pages on August 5, 2026. Re-check current listings before making an install or high-stakes decision.
- OBS Studio — Sources
OBS Project
How OBS captures a display or window, which is what puts an on-screen overlay into a stream.
- Control access to input monitoring on Mac
Apple
Apple's guide to the Input Monitoring privacy permission and how to grant or revoke it.
- Secure Keyboard Entry
Apple
How macOS Secure Keyboard Entry stops other apps from receiving key events.
- Show KeyPress on the Mac App Store
Apple
The listing, with the current price, system requirements and version history.
FAQ
Questions people ask
Is there an OBS plugin for Show KeyPress?
No, and none is needed. The app does not integrate with OBS or any other streaming software. It draws an overlay on your screen, and an OBS display capture includes it because it captures everything on that display.
Why do my keystrokes not appear in my OBS scene?
Almost always because the source is a window or application capture rather than a display capture, or because the overlay is on a different monitor than the one OBS is capturing. Switch to a display capture and set the app's display target to One Display.
Does Show KeyPress need Screen Recording permission?
No. Input Monitoring is the only privacy permission it requests. Screen Recording permission is something macOS asks OBS for, because OBS is the app doing the capturing.
Will the overlay show up over a full-screen game or app?
The overlay window joins all Spaces and floats above full-screen apps, so it stays visible when you switch. What ends up on stream still depends on your OBS source being a display capture.
Can I hide the overlay in the middle of a stream?
Yes. The global shortcut for app state — ⌘⇧K by default, and rebindable — turns the visualisation off and on from anywhere, without opening the settings window.