
Guide
Keyboard overlay for screen recording on macOS
A tutorial where the screen changes and nobody knows why is a tutorial people rewind.
Why a recording needs the keys visible
In a screen recording, a keyboard shortcut is invisible. The viewer sees a panel appear or a selection change and has to infer the cause from your narration, which only works if your narration keeps perfect pace with your hands. It rarely does.
An on-screen overlay removes the inference. The keycaps appear at the moment the panel does, so cause and effect land together and the viewer does not have to hold the audio in memory to make sense of the video.
It also protects the recording from you. If you press something you did not narrate, the overlay shows it, and a viewer who is following along on their own Mac does not silently fall out of sync.
There is no plugin — that is the point
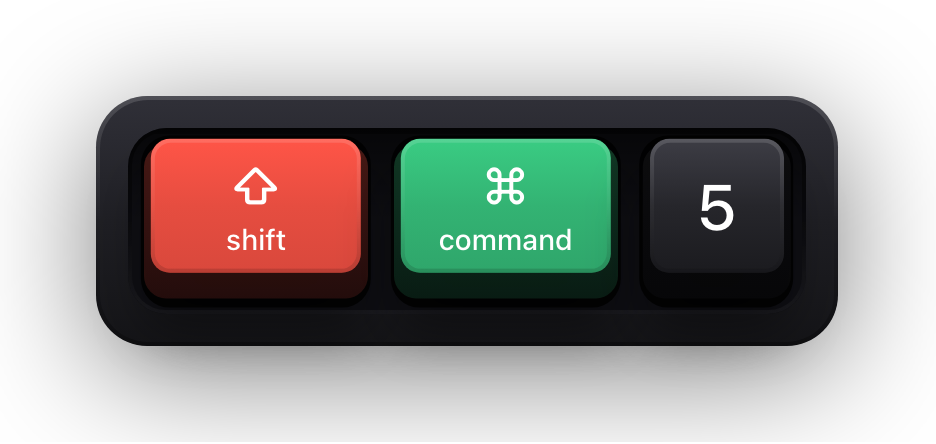
Show KeyPress does not integrate with any recorder. It has no plugin, no source type, no export. It is a window drawn above your other windows, so a recorder capturing that region of the screen picks it up the same way it picks up your editor or browser.
This is what makes it recorder-agnostic. The built-in macOS screen recording tools on ⇧⌘5, OBS Studio with a display capture source, and any other display-level capture all see the same pixels you do.
The exception is worth knowing before you press record: capture that is scoped to a single application window carries that window's own content. An overlay drawn as a separate window above it is not part of that window, so a window capture can miss it.
Record a Mac screen with keystrokes
- 01
Grant Input Monitoring once
Show KeyPress asks for Input Monitoring in System Settings under Privacy & Security, and nothing else. Your recorder separately needs Screen Recording permission — that grant belongs to the recorder, not to the overlay.
- 02
Choose Shortcuts Only for a tutorial
Most tutorials are a sequence of commands with typing in between. Shortcuts Only draws the combinations and stays out of the way while you fill in a form or a search field. Switch to All Keys when the typing itself is the lesson.
- 03
Pin the overlay to the display you are capturing
Use One Display rather than Follow Pointer while recording, so the overlay cannot wander to a second screen mid-take. Each physical display keeps its own saved placement.
- 04
Park it in a dead corner
Pick one of the eight edge presets away from the region you are demonstrating, or use the full-screen drag editor with snapping and guides for an exact spot. Bottom-centre and bottom-right survive most window layouts.
- 05
Do a ten-second test capture
Record yourself pressing three real shortcuts, then watch it back at the size your viewers will use. This catches a timeout that is too short and a size preset that is too small far more reliably than judging it live.
- 06
Keep the toggle shortcut within reach
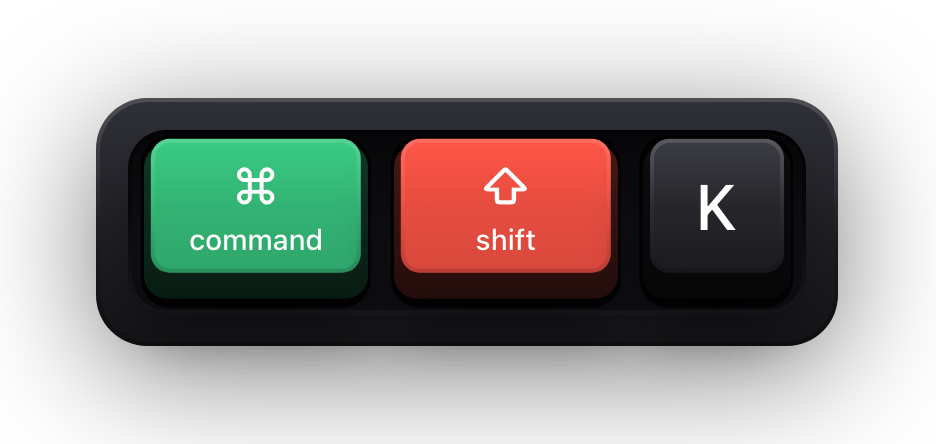
A global shortcut — ⌘⇧K by default — turns all the visualization on and off without touching the menu bar, so you can hide it for a clean shot and bring it back for the next command. A short status banner confirms the new state. Note that it is the master switch: it takes the cursor halo and the pet with it.
Settings that decide whether a recording is readable
| Setting | For a recorded tutorial | Why |
|---|---|---|
| Reading mode | Latest for command-by-command work, Stacked History when typing is the subject | Latest gives each shortcut its own moment; stacked fragments stay legible during continuous typing |
| Content mode | Shortcuts Only | Keeps the overlay quiet while you type into fields the viewer does not need to read back |
| Timeout | Long enough to finish the sentence explaining the shortcut | A press that vanishes before you name it forces the viewer to scrub backwards |
| Size | One step larger than looks right on your own display | Your Mac's display is not the phone your viewer is watching on |
| Theme | A gallery with strong contrast against your app's chrome | Nine theme families ship for the keyboard, plus one autosaved custom theme |
| Press animation | On for mechanical keycaps, off if the movement pulls focus | Modifiers and regular keys animate independently |
The parts that stay off the recording
Recording a tutorial usually means logging into something on camera. While macOS Secure Input is active the keyboard overlay is cleared, so a password field produces no keycaps at all and there is no keystroke for the recorder to capture. What the recorder does pick up is a short banner reading Keyboard hidden — Secure Input. If you would rather the take showed nothing at all, turn off Show Status HUD in Settings under General before you record.
Everything the app sees stays on the machine. Key events are processed on device, and keystrokes and typed fragments are never written to disk or sent anywhere. The overlay is a display, not a log.
- Input Monitoring is the only privacy permission the app requests.
- The keyboard and pointer overlays are click-through and never steal a click from your recording.
- The cursor halo can be turned on separately when pointer movement is part of the lesson.
- A local diagnostic report can be exported if something misbehaves, and it contains no keystrokes.
Sources and further reading
Product details and guidance were checked against these first-party pages on August 5, 2026. Re-check current listings before making an install or high-stakes decision.
- Take a screenshot or record your screen on Mac
Apple
Apple's instructions for the built-in screenshot and screen recording tools.
- OBS Studio — Sources
OBS Project
How OBS captures a display or window, which is what puts an on-screen overlay into a stream.
- Control access to input monitoring on Mac
Apple
Apple's guide to the Input Monitoring privacy permission and how to grant or revoke it.
FAQ
Questions people ask
Does Show KeyPress record my screen?
No. It draws keystrokes on screen and nothing more. You still need a recorder — the built-in macOS screen recording tools, OBS Studio, or whatever you already use.
Do I need Screen Recording permission for the overlay?
No. Show KeyPress asks for Input Monitoring only. Screen Recording permission is something your recorder needs in order to capture the display, and it is granted to that app.
Why are the keys missing from my recording?
The capture is most likely scoped to a single application window. The overlay is a separate window drawn above it, so it is not part of that window's content. Switch to a display capture.
Can I hide the overlay between takes?
Yes. ⌘⇧K toggles all the visualization and a short status banner confirms the new state. The menu bar item flips the same switch, silently.