
Screencasting
Recording a coding tutorial on a Mac, end to end
The recording is the easy part. Everything that makes a coding tutorial watchable happens before you press record.
The four ways a coding tutorial fails
Almost every unwatchable programming screencast fails in one of four specific ways, and none of them is about the presenter's knowledge. The code is too small to read on the device the viewer is holding. The screen changes and nobody knows which key caused it. The project does not build at the start of the video because the presenter's machine had state nobody else has. Or a notification slides in from the corner with somebody's real name attached.
All four are fixed before recording, not during and not in the edit. That is the useful way to think about a coding tutorial: it is a preparation task with a recording step at the end, not a recording task. What follows is that preparation, in the order it has to happen.
It assumes you are recording an editor and a terminal — the two windows that make programming content different from every other kind of screencast, because both are dense text and both are driven by keys nobody can see.
Prepare the repository before you prepare the camera
The single most common re-record is caused by state. Your machine has the dependency directory that installed six months ago, the database with the seed data you added by hand, the feature branch you forgot you were on, and the environment file you have never once had to think about. None of that exists for the viewer, and half of it will surface as a broken command three minutes into the take.
Fix it by making the starting point reproducible before you own the microphone.
- 01
Cut a branch per episode, with a checkpoint commit at each segment boundary
If you are recording a five-part series, the end state of part three is the start state of part four. Committing at each boundary means a viewer can start anywhere, and it means you can re-record part four next month without rebuilding your machine from memory.
- 02
Delete the state you cannot explain
Blow away the dependency directory and reinstall from the lockfile. Reset the local database from the seed script. If either fails, the viewer's version was going to fail too, and you have found the first bug of the tutorial before it cost you a take.
- 03
Move every secret out of shot
Environment files, credential helpers, cloud CLI profiles, an editor sidebar that lists a file called production.env. Replace real values with obvious placeholders in the account you record from, and keep the real ones somewhere the take cannot reach.
- 04
Clean the working tree and the terminal history
A dirty git status is the first thing on screen when you run your first command, and it is confusing to a viewer who cannot see what those files are. Start clean, and start with an empty scrollback so the first frame of the terminal is not last night's debugging.
- 05
Rehearse the commands once, silently
Run the exact sequence you plan to demonstrate, end to end, with no narration. You are checking that it works and finding out how long it takes — both of which change what you say when you record for real.
Make the code legible on somebody else's screen
You read code on a large display at arm's length, with a font size chosen for a working day. Your viewer reads it in a player window on a laptop, or full screen on a phone held closer than any monitor. The gap between those two is the difference between a tutorial people finish and one they close.
The correction is unsubtle. Raise the editor font until it feels absurd on your own screen, then record thirty seconds and watch it at the size the video will actually be delivered at. Judging this in the editor rather than in a test export is the mistake almost everyone makes once.
- Wrap or hard-limit line length so the viewer never has to follow a horizontal scroll they cannot see the ends of.
- Turn off the minimap, breadcrumbs and inline hints you personally never look at — every one of them is a strip of unreadable pixels in a compressed video.
- Choose a high-contrast theme rather than the muted one you like. Compression eats low-contrast syntax highlighting first, and it eats comments before anything else.
- Shorten the shell prompt. A prompt with a full path, a git branch, a language version and a timestamp takes half the terminal width and none of it is the lesson.
- Decide the split before you start: an editor beside a terminal halves the width of both. Two segments, each full width, usually beat one crowded frame.
Silence the machine
A notification in a tutorial is not just an interruption — it is often a person's name, a client's name, or a subject line you do not want on the internet. macOS has a switch for this: turning on the Do Not Disturb Focus from Control Center silences notifications, and Focus settings let you build a recording-specific Focus if you want finer control over what is allowed through.
Focus does not cover everything, though, and the rest is manual. Chat apps with unread badges in the Dock, a browser signed into your own account with your avatar in the corner, a bookmarks bar that lists your employer's internal tools, a calendar with the next meeting's title in the menu bar. Every one of those has ended up in somebody's published video.
Recording, and the keys nobody can see
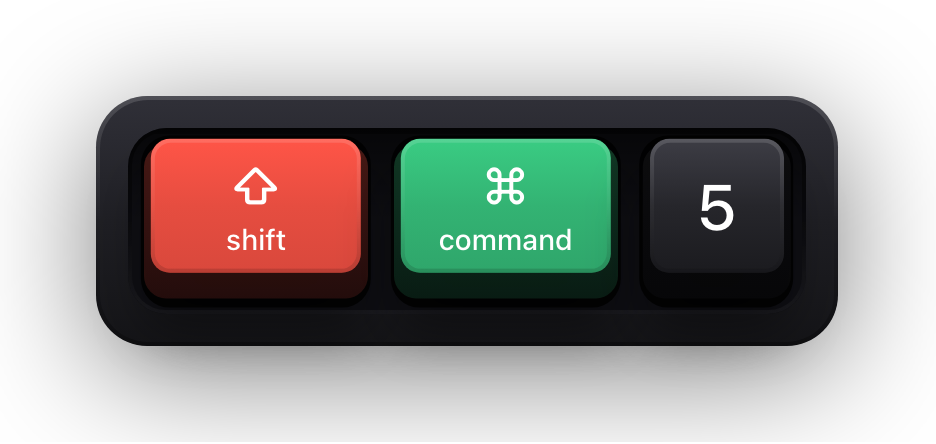
The recorder is the least interesting decision here. Shift-Command-5 brings up the built-in macOS capture controls with Record Entire Screen, and QuickTime Player's New Screen Recording hands you the same controls. Either is enough for a tutorial; neither needs configuring beyond choosing the whole screen rather than a selected portion.
The part that does need a decision is the keyboard. A programming tutorial is mostly keyboard — jump to definition, run the last test, multi-cursor, the command palette, the shell. Every one of those is invisible in a recording, which leaves you narrating key names out loud and falling out of sync with your own hands.
A keystroke overlay removes that job. Show KeyPress draws each press as a keycap in an always-on-top window on your screen, so any recorder capturing the display captures the keycaps too. It records nothing itself, has no plugin for any recorder, and needs no configuration on the recorder's side — the only requirement is that you capture the display rather than a single application window, because the overlay is a separate window drawn above your editor rather than part of it.
| Tutorial segment | Overlay settings that fit | Why |
|---|---|---|
| Editor navigation and refactoring | Shortcuts Only, Latest, generous timeout | Combinations are the whole lesson, and the keycap should still be up while you finish the sentence about it |
| Typing a shell command | All Keys, Stacked History | The characters are the point, and stacked fragments stay readable where a flicker of single caps does not |
| Writing prose — commit messages, comments, docs | Shortcuts Only | Nobody needs a keycap per character, and it pulls the eye away from the text being written |
| Debugging with the function keys | Shortcuts Only with function keys shown, standalone modifiers off | Step over and step into are worth seeing; a bare Command tap flashing every few seconds is not |
Record in takes, not in one pass
A forty-minute single take means every mistake in minute thirty-eight costs you the whole thing, which is why single takes get worse as they go on — you start protecting the take instead of teaching. Recording in segments that map to your checkpoint commits inverts that. A fluffed segment costs three minutes.
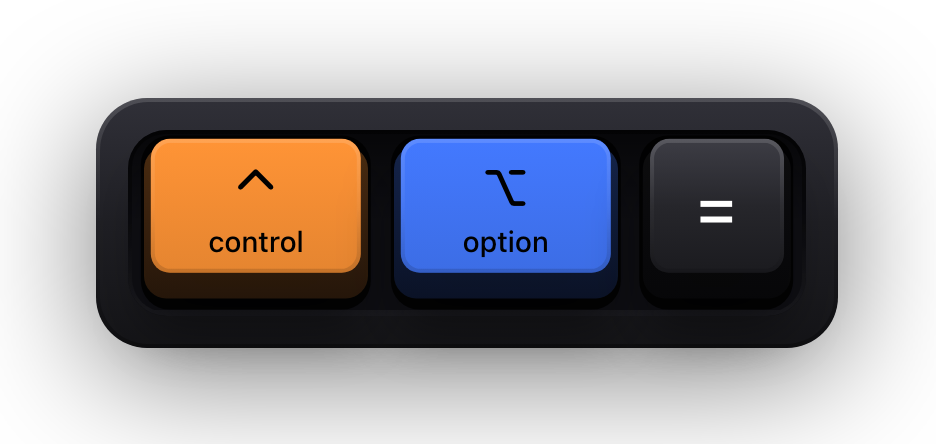
It also lets you change the overlay's configuration between segments to suit what the segment is. ⌃⌥M switches between All Keys and Shortcuts Only from anywhere, and ⌃⌥= and ⌃⌥- step through the three size presets, so you are not opening a settings window mid-session and putting it in shot.
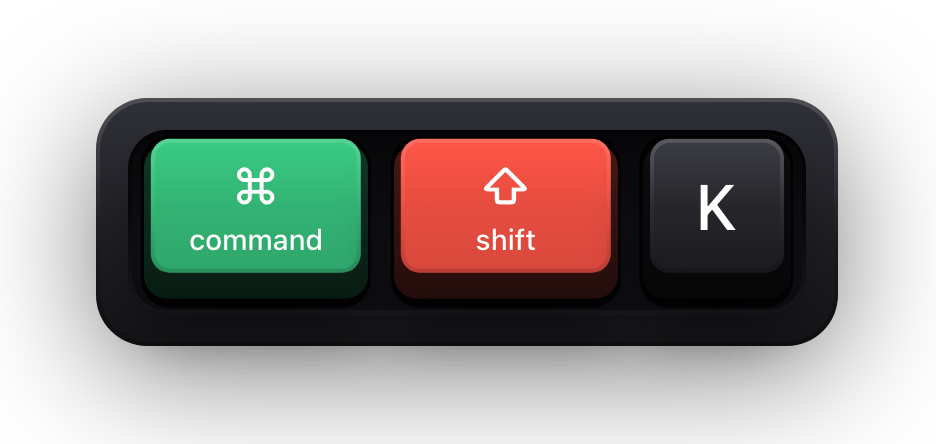
One practical detail: your own start and stop keystrokes end up in the recording, keycaps and all. Press ⌘⇧K to turn the visualization off just before you reach for the stop control, or leave a couple of seconds of silence at each end and trim them.
The secrets problem, honestly
macOS handles the worst case for you. While Secure Input is active — a password field, an unlock dialog, a terminal with Secure Keyboard Entry — applications stop receiving key events at all. Show KeyPress clears the keyboard visualization for that whole period, so no keycap is drawn and nothing reaches the recording. What appears instead is a short banner reading Keyboard hidden — Secure Input, which reads as a deliberate pause rather than a glitch. If you would rather the take showed nothing at all there, turn off Show Status HUD in Settings under General before you record.
What macOS does not cover is anything it has no reason to treat as secret. An API key pasted into a plain text field, a token typed into a config file, an internal hostname — all of that is ordinary text as far as the system is concerned. ⌘⇧K is the master switch for those moments; it takes the cursor halo and the pet down with the keycaps, and a short status banner confirms the new state.
None of this is stored anywhere. Key events are processed on device, keystrokes and typed fragments are never persisted, and the app ships with no network entitlement at all — there is no log of a recording session to leak afterwards.
The pass before you publish
- The repository state at the start of the video matches the checkpoint commit you tell viewers to check out.
- Every command you ran on screen works from a clean clone, not just from your machine.
- The code is readable at the delivery size, on a phone, not just on your display.
- No notification, badge, real name, customer name or internal hostname made it into a frame.
- The keycaps are legible, placed clear of the editor gutter and the terminal, and did not drift to another display mid-take.
- There is no password, token or key visible anywhere — including in a scrollback you scrolled past quickly.
Sources and further reading
Product details and guidance were checked against these first-party pages on August 5, 2026. Re-check current listings before making an install or high-stakes decision.
- Take a screenshot or record your screen on Mac
Apple
Apple's instructions for the built-in screenshot and screen recording tools.
- Change Focus settings on Mac
Apple
Apple's guide to Focus, including silencing all notifications with Do Not Disturb from Control Center.
- Secure Keyboard Entry
Apple
How macOS Secure Keyboard Entry stops other apps from receiving key events.
- Show KeyPress on the Mac App Store
Apple
The listing, with the current price, system requirements and version history.
FAQ
Questions people ask
Do I need OBS to record a coding tutorial?
Not for a plain screencast. Shift-Command-5 and QuickTime both record the entire screen with no setup, which is all a single-window tutorial needs. OBS earns its place once you want a camera, multiple scenes, or per-source audio.
Should I show my keystrokes for the whole video or only for shortcuts?
Only for shortcuts, most of the time. Shortcuts Only draws combinations and stays quiet during ordinary typing, and ⌃⌥M switches to All Keys for the segments where the exact characters are the lesson — a shell command, a regex, a filename.
How do I stop a password appearing in the recording?
macOS Secure Input handles password fields, unlock dialogs and terminals with Secure Keyboard Entry: key events do not reach the app, so the keyboard visualization is cleared and a brief Keyboard hidden — Secure Input banner appears in its place. For secrets macOS does not know about, press ⌘⇧K to turn the visualization off.
Is it better to script a coding tutorial or improvise it?
Script the order of the segments and the point of each one; improvise the sentences. A fully scripted programming screencast sounds read, and a fully improvised one wanders — the segment boundaries are what keep it moving.