
Displays
Where the keyboard overlay sits, and how big it is
An overlay in the wrong corner covers the thing you are demonstrating. An overlay too small to read may as well not be there.
Eight presets and everywhere else
The presets are the four corners and the four edge midpoints: Top Left, Top Center, Top Right, Center Left, Center Right, Bottom Left, Bottom Center and Bottom Right. Each keeps a small inset from the edge, so the overlay never sits flush against the screen border, and the inset is measured against the display's usable area rather than its full frame.
The ninth marker is the middle of the screen. It behaves like a preset when you snap to it, but it is stored as a free position rather than as an edge anchor — which is the honest description of what it is.
Anywhere else on the display is a free position. It is stored as a proportion of that display's usable area rather than as pixels, so it survives a resolution change, a scaling change, and the menu bar or Dock changing size underneath it.
| Placement | Typical use | Watch out for |
|---|---|---|
| Bottom Center | Lower-third captions in tutorials and streams — the most conventional spot | Collides with a Dock set to the bottom, and with caption bars in conferencing apps |
| Bottom Right / Bottom Left | Recordings where the centre of the frame is the subject | Bottom right is where many apps park notifications and pickers |
| Top Center / Top corners | Presentations where the lower half of the screen carries the content | Meeting toolbars, share borders and a webcam picture-in-picture usually live up here |
| Center Left / Center Right | Wide monitors where the working area sits in the middle | Sidebars and inspectors in the app you are demonstrating |
| Free position | Anything the presets cannot express, including an exact spot inside a capture region | Check it again after changing overlay size — a bigger overlay grows around its centre |
The drag editor
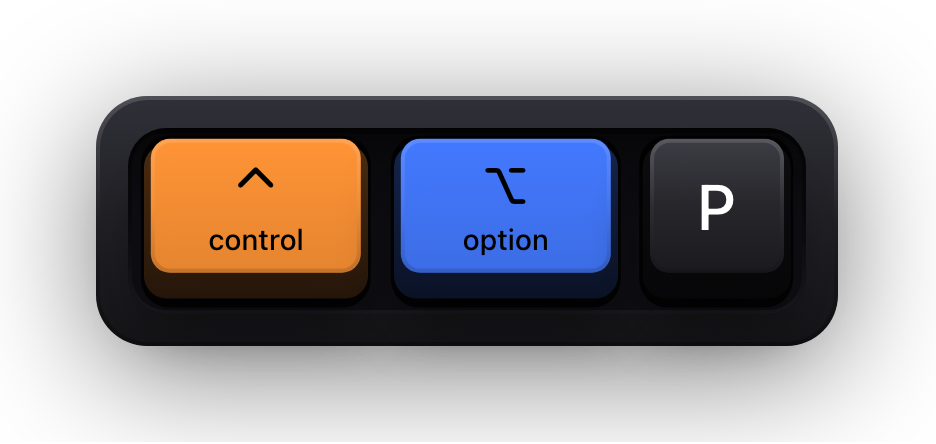
There is no coordinate box to fill in. ⌃⌥P — or Position on Screen… next to any display in Settings — dims that screen and puts the actual overlay on it, at its real size, in its real theme, with the keycaps you would see in a demo.
Drag it. The nine snap markers glow as you come within about 32 points of one, and the label in the editor's banner tells you what the current placement is called. Done saves it for that display, Cancel throws the drag away, and Reset returns the display to the fallback placement used by screens you have never placed the overlay on.
Saving shows a Position Saved banner. The editor closes if you switch to another app, so it cannot be left open behind a window, quietly hiding your overlay.
Three sizes and two shortcuts
Judge size at the resolution your audience will watch, not at the one you are editing on. A 4K screen scaled down to a phone-sized player is the usual reason a recording comes back with unreadable keycaps, and the fix is one step larger than looks right on your own display.
- Small, Medium and Large scale the whole overlay — keycaps, frame, labels and spacing together, not the text alone.
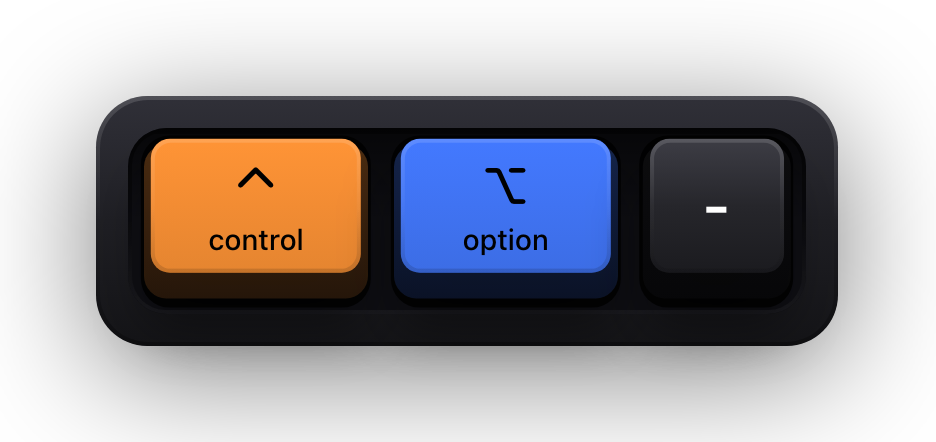
- ⌃⌥= steps up and ⌃⌥- steps down, each showing a banner that names the new size. Both stop at the ends rather than wrapping around.
- Opacity is a separate slider, from 30% to fully opaque, and it applies to the finished overlay so a translucent keyboard still reads as one object.
- Size and opacity live together in Settings under Keyboard → Appearance, with a live preview of a resting and a pressed keycap.
Keeping it clear of the furniture
- The Dock — placements are measured against the display's usable area, so the Dock is already accounted for. It still pays to avoid the edge the Dock is on if you auto-hide it, because that edge changes size when it appears.
- A webcam overlay — most people park theirs in a bottom corner. Put the keys in the opposite one, or use Bottom Center if the camera is in a corner.
- Conferencing chrome — floating toolbars and the green share border cluster near the top and centre of the screen. An edge preset near the bottom usually clears both.
- Caption bars and lower thirds — if your editor burns captions into the lower third, move the overlay up to a centre preset rather than fighting it in post.
- Full-screen apps — the overlay draws above them, so a preset that works in a window works in full screen too.
Sources and further reading
Product details and guidance were checked against these first-party pages on August 5, 2026. Re-check current listings before making an install or high-stakes decision.
- Show KeyPress on the Mac App Store
Apple
The listing, with the current price, system requirements and version history.
FAQ
Questions people ask
How do I move the keystroke overlay?
Press ⌃⌥P, or use Position on Screen… in Settings under Displays & Position. The screen dims, the real overlay becomes draggable, and Done saves the spot for that display.
Can I put the overlay anywhere, not just in a corner?
Yes. The eight presets are snap targets, not a restriction — release the overlay away from them and the free position is stored as a proportion of the display, so it survives resolution changes.
How do I make the keys bigger?
Press ⌃⌥= to step up a size, or choose Small, Medium or Large in Settings under Keyboard → Appearance. A short banner confirms the new size.
Does the overlay cover my Dock?
Placements are measured against the display's usable area, which already excludes the menu bar and a visible Dock. With the Dock set to auto-hide, keep the overlay off that edge.